2.27.2012

Cold Frames

We have begun seeding inside (even though it is technically too early, Terry can't resist getting started!) and are making plans to seed outside. This year Terry is building cold frames which I am really excited about. These simple structures will allow us to start seeding earlier outside and also have greens through the winter. Here's how they work.

First seed trays planted and under the grow lights

Cold frames are built to create environments that minimize sudden changes in the environment. Throughout the seasons, the weather patterns are so irregular that it is the shock of thaw and frost cycles that affect the plants, not necessarily the cold. They are simple and cheap to build and a frame consists of a box with a glass top and no bottom that sits on the soil.  Traditionally they are built to be 12" high in the back, and 8" in the front, about 4' - 6' front to back, and should be south facing. 

We were given these old windows and they are perfect to use as our glass!

Inside the cold frames, the temperatures can be as much as 20 degrees warmer than the outside temperature. This is great for the winter, but in the spring you have to be careful and be sure to open up the lid to vent it to prevent crops from getting too warm.  

So what can you grow in them? Cold frames are not suitable for all plants and you still need to be conscious of what you are putting in them because things like tomatoes will not stand a chance. Good cold weather crops are carrots, swiss chard, spinach, arugula, and other hardy greens.  Terry has built 2 cold frames and we will be planting beets, carrots, cilantro, lettuce, radishes, spinach, and salad mix.  We will add 'Sweet Peet' to the soil where the cold frames sit to add extra nutrients to the soil.

 We are looking forward to using these cold frames and extending our growing season!

2.23.2012

Baked Beans + Cornbread

I have been wanting to make baked beans for a while now and when I saw a recipe for them in this month's Saveur magazine, I couldn't resist. This is a great cooking magazine and I highly recommend getting a subscription or checking it out at the library. I have never been disappointed with recipes I've made from here. Here is is:

New England-Style Baked Beans

Serves 6-8

1 lb dried navy beans, picked over and rinsed (I used Jacob's Cattle beans)
1 medium yellow onion, ends trimmed, peeled, and left whole
4 whole cloves
8 oz. slab bacon or salt pork, trimmed, and cut into 2" x 1/4" piecs
1/4 cup plus 2 tbsp. maple syrup (I used brown sugar instead)
1/4 cup unsulfured molasses
2 tsp. dry mustard powder
1/2 cup ketchup
1 tbsp cider vinegar
1 tbsp dark rum (I omitted this)
Kosher salt and freshly ground black pepper to taste

1.  Bring the beans and 10 cups of water to a boil in a 4-qt saucepan over high heat, and cook for 2 minutes.  Remove from the heat, cover the saucepan with a lid, and let the beans sit for 1 1/2 hours. (This "quick soak'' produces effects similar to those achieved by soaking the beans in water overnight.) Drain the beans in a colander, and discard the cooking liquid.

2. Heat oven to 250. Stud the onion with the cloves and place in a 4-qt Dutch oven along with the beans, bacon, maple syrup, molasses, dry mustard, and 3 cups boiling water; stir to combine.  Cover pot with a lid, and place in the oven; cook, lifting the lid and stirring occasionally for 3 hours. Stir in ketchup and vinegar. Cover with a lid again, and return to the oven; cook, stirring occasionally, until the beans are tender and the liquid has reduced to a thick glaze, about 3 hours more.

3. Stir in rum; season with salt and pepper.

I also chose to do this in a crockpot rather than the oven. I kept the temperature on high until the last hour when I turned it to low. I was extremely satisfied with this hearty dish and will definitely make it again! I also made cornbread in a cast iron pan which was a great accompaniment to this dish. Here is the recipe:

Mother's Skillet Cornbread

Serves 6

1 1/2 cups stoneground white cornmeal
3 tsp flour
1 tsp salt
1 scant tsp baking soda
2 cups buttermilk
2 eggs
3 tbsp bacon drippings

Preheat oven to 400. Sift all dry ingredients together. Add eggs to buttermilk, beat well and mix with dry ingredients.  Heat drippings in a skillet till very hot. Add 2 tbsp grease to cornbread mix and leave remaining in skillet. Bake 20 - 25 minutes.

This dinner was so good I completely forgot to take pictures so here is an image from Saveur!


2.12.2012

Winter Wonderland

I needed a small break from city life so I spent the weekend at my "country house" otherwise known as my parents' house in Chagrin Falls.  I am so lucky to be able to go there whenever I want and always welcomed with open arms and delicious meals. Just as I thought winter was nearly over and we could really start to get excited about our seeds, we got almost 2 feet of snow. I couldn't complain too much as I took several beautiful walks in the woods with my mom and Scrappy and cozied up next to the wood stove. 


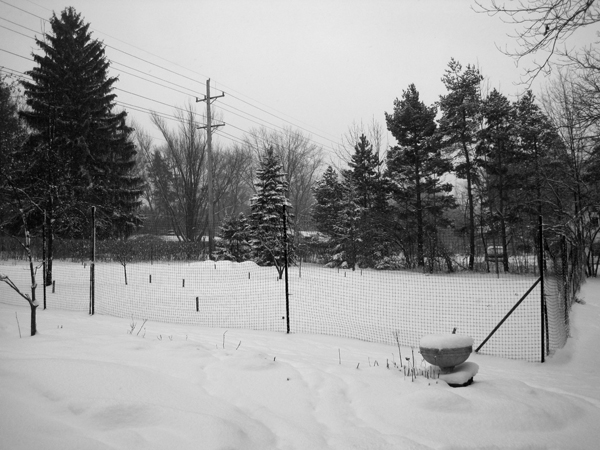
A different picture of the garden than the one I posted a few days ago!


Azalea bushes covered in snow.


Somebody enjoyed playing in the snow all weekend!


How lucky am I to have grown up looking at this view out of the kitchen window my whole life?


Hemlock Road tends to be a pretty busy street but it is beautiful when it is snow-covered early in the morning before too many cars have ruined the perfect white road.

2.10.2012

We're Back!

Hello once again! I apologize for the long break in posts but as you may have guessed, not much has been happening with the farm. We are all very ready for the spring and can't wait for those first crops to pop up from the ground. We are a long way away from eating fresh tomatoes again but in the mean time we have been preparing. All of our seeds have arrived and we will be getting the basement ready for seeding in a few weeks. It's hard to believe that all of our hard work and produce of the season comes from such a small pile of seed envelopes!


The grow light shelves are currently packed with all of our empty trays just waiting to be filled in.  It is pretty cold in the basement now, but once we start our seeds, we will keep the heat on in the 60's to give the seeds that extra energy to get started and have the lights on for about 16 hours a day.  We have our potting soil and are eager to get going but have to be careful not to rush it because we don't want our seedlings to be ready to be transplanted before the ground is ready.


Here is a view of the garden today. I can't wait for the shades of brown to turn to green!